How to Upload a Photo to Photoshop Project

Inserting an image in Photoshop using the drag-and-driblet method does not sound like much of a claiming. Merely this seemingly simple tasks involves quite a lot of activity in Photoshop. In this tutorial, you will learn about the import options in Photoshop and how to integrate them with your workflow.
There are various means to insert an image in Photoshop. Whether you simply drag and drop the image in Photoshop or transfer it from an paradigm database such as Lightroom, your photos will ever be imported in the best possible quality. Simply considering this alone does not guarantee razor-sharp photos, in that location are some ways to bank check the image data already during the import.
Contents:
- Inserting images via drag and drop
- Integrating photos in existing documents
- Importing images from Lightroom
Inserting images in Photoshop via drag and driblet
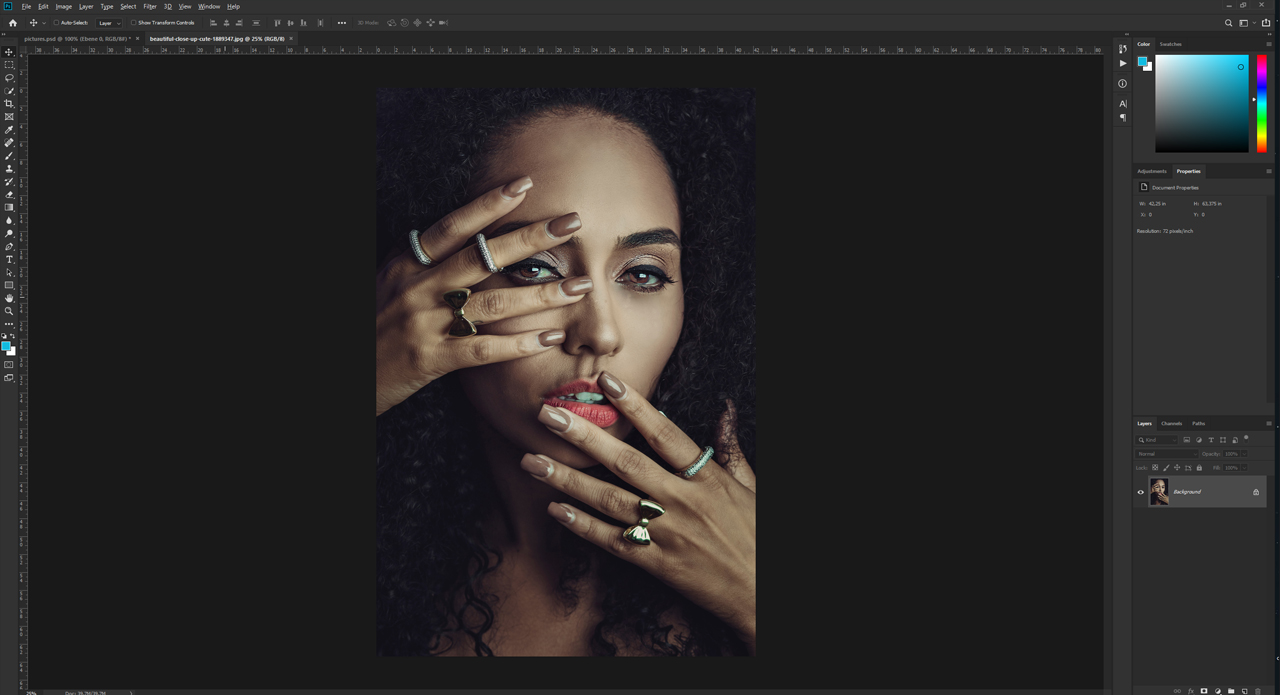
As already mentioned, the import using the drag-and-drop method is oft the easiest mode to import photos in Photoshop. Open up Photoshop and drag a photo from the Explorer or from your desktop onto the Photoshop user interface. One time you release the left mouse button, the image is opened as a new certificate. The certificate containing the image has exactly the aforementioned dimensions and settings of the original epitome including the resolution, the width, length and colour mode.
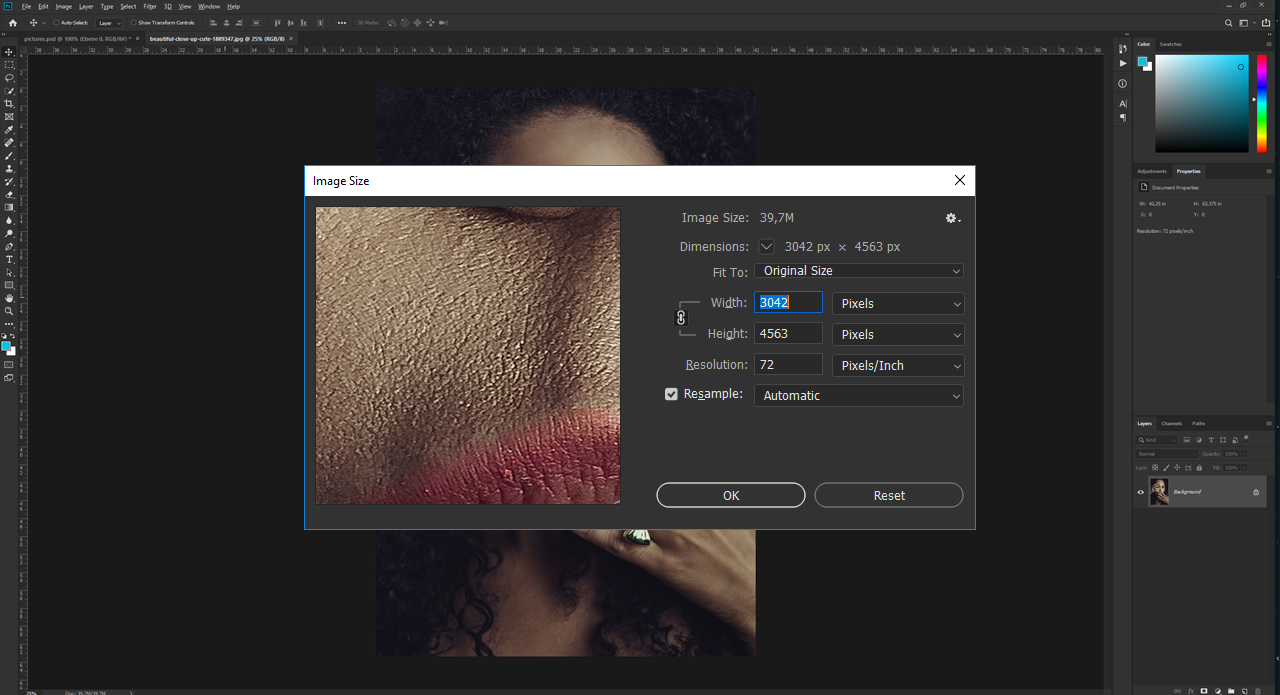
To check the epitome data, click Image > Prototype Size in the top menu. This dialog box gives an overview of the general image quality. The photograph in the case has an overall resolution of 3042 x 4563 px and 107 10 160 cm. These values are ideal to edit the photograph for printing, for instance.
Inserting photos in existing documents
As in the commencement case, you can import an prototype into an existing document using the elevate-and-drop office. If the prototype is non displayed over the total width and peak of the certificate after the import (see picture), this might betoken that the newly imported epitome is too minor to be scaled to the size of the document. This is considering the photograph will be inserted in maximum quality also when it is imported in an existing document.

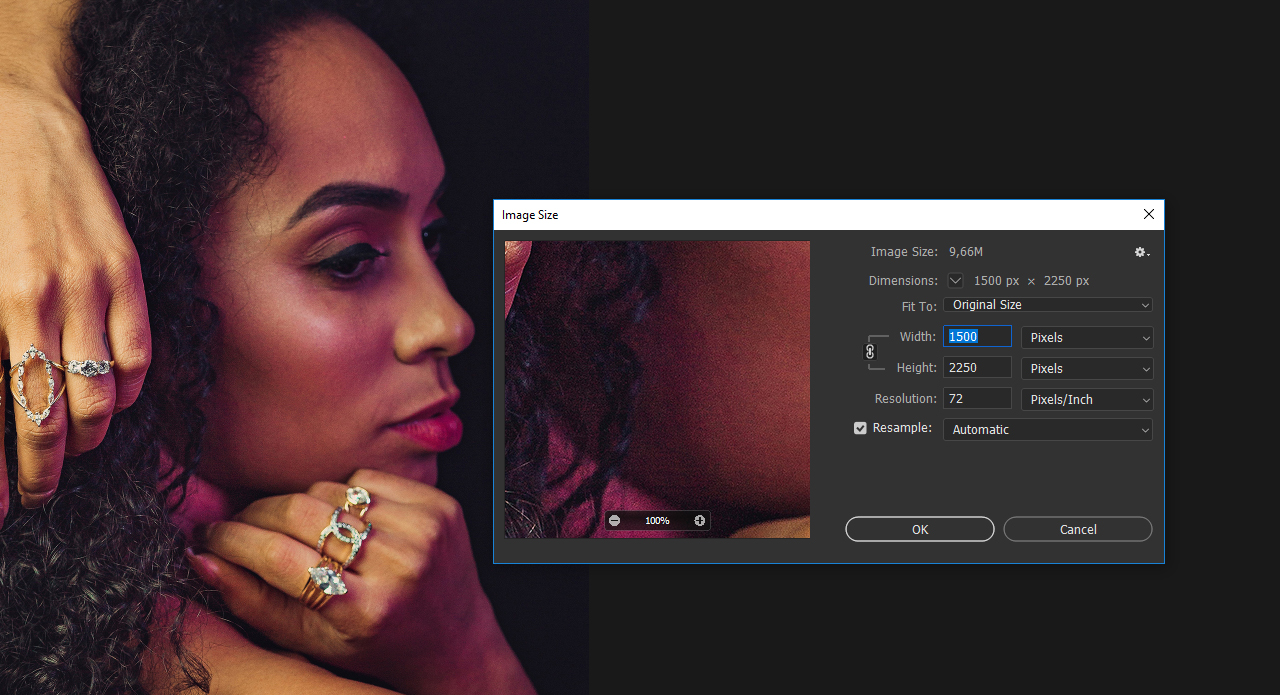
But it might still be possible to scale the inserted photos. In social club to detect this out, you demand to admission the image information of the newly imported prototype. If you click Epitome > Image Size once again, you will meet the dimensions and the resolution of the certificate and not of the new photo.

This is where Photoshop's Smart Objects come into play. Once a photo is imported into an existing document, Photoshop converts it to a smart object. This is indicated past the minor file icon in the correct-manus corner of the layers thumbnail. Double-click the thumbnail to open the newly imported photograph every bit a divide but linked document. Now you tin verify the image data again via Image > Image Size.
Tip: You can apply any changes, such as colouring or retouching, to the smart object in the opened document. After editing, save the smart object using Ctrl + Due south to close the certificate and apply the changes to the original certificate besides. For more than information, read our tutorial on smart objects.
Importing images from Lightroom
Another fashion to insert photos in Photoshop is to use Lightroom to view and organize your photos and import them from there. This way, you don't accept to save your photos on your computer but use the Adobe Deject Storage to keep your photos organised.
Earlier importing from Lightroom, open Photoshop and click the plus icon in the upper left corner. Then choose the prototype to be imported in your Explorer and click Review For Import. To upload the photo to the Adobe Cloud, click Add Photos in the upper right corner. You lot will and then see a small cloud icon with a spinning blue progress wheel in the upper right corner. Once this icon has disappeared later a few seconds, your photo has been uploaded to the cloud and is ready to be imported in Photoshop.
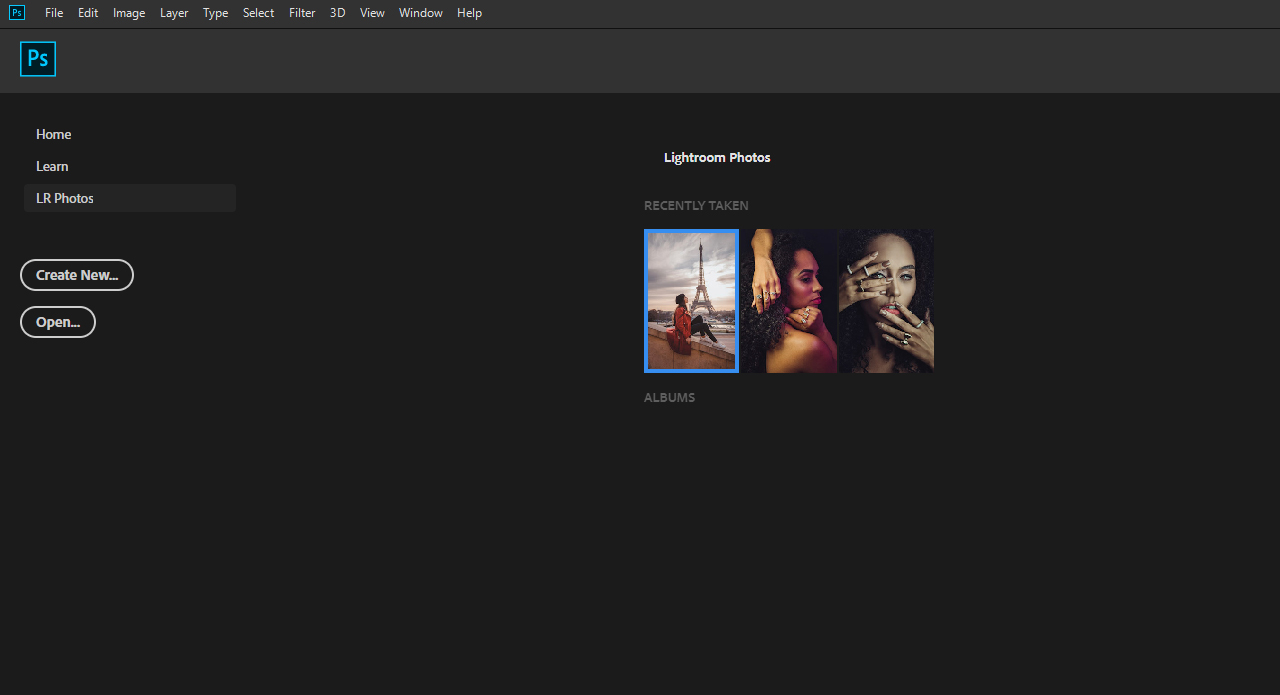
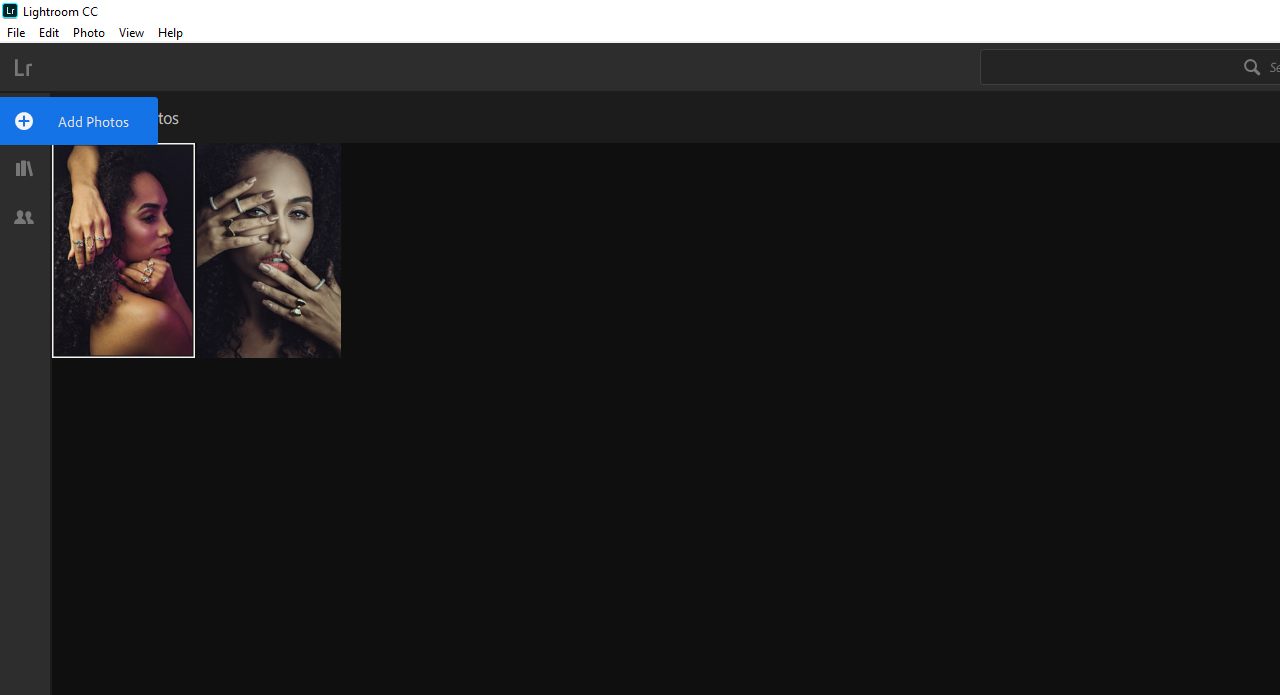
To do so, open up Photoshop and click the Lr Photos tab of the Starting time workspace. A list of photos that have already been added is displayed. Click the Refresh button to load the latest version of your image database including your recently uploaded photo. Now click on this photo and choose Import Selected. Subsequently, the photo is downloaded to your local machine and can be edited every bit usual.
williamspurabbighty.blogspot.com
Source: https://www.onlineprinters.co.uk/magazine/insert-images-photoshop/
0 Response to "How to Upload a Photo to Photoshop Project"
Post a Comment